Discover how to kickstart your garden by starting seeds indoors with this comprehensive guide. Learn the best practices to ensure your plants thrive from the very beginning.
Choosing the Right Seeds for Indoor Starting
Selecting the right seeds is the first crucial step in starting your indoor garden. Not all seeds are suitable for indoor starting, so it's important to choose varieties that thrive in an indoor environment. Look for seeds labeled as 'indoor', 'container-friendly', or 'early season'. These types are typically more adaptable to the controlled conditions inside your home.
Consider the climate and growing season of your region. If you live in an area with a short growing season, opt for seeds that mature quickly. Additionally, heirloom and organic seeds are excellent choices for gardeners who prefer natural and sustainable gardening practices.
Essential Supplies You Need to Get Started
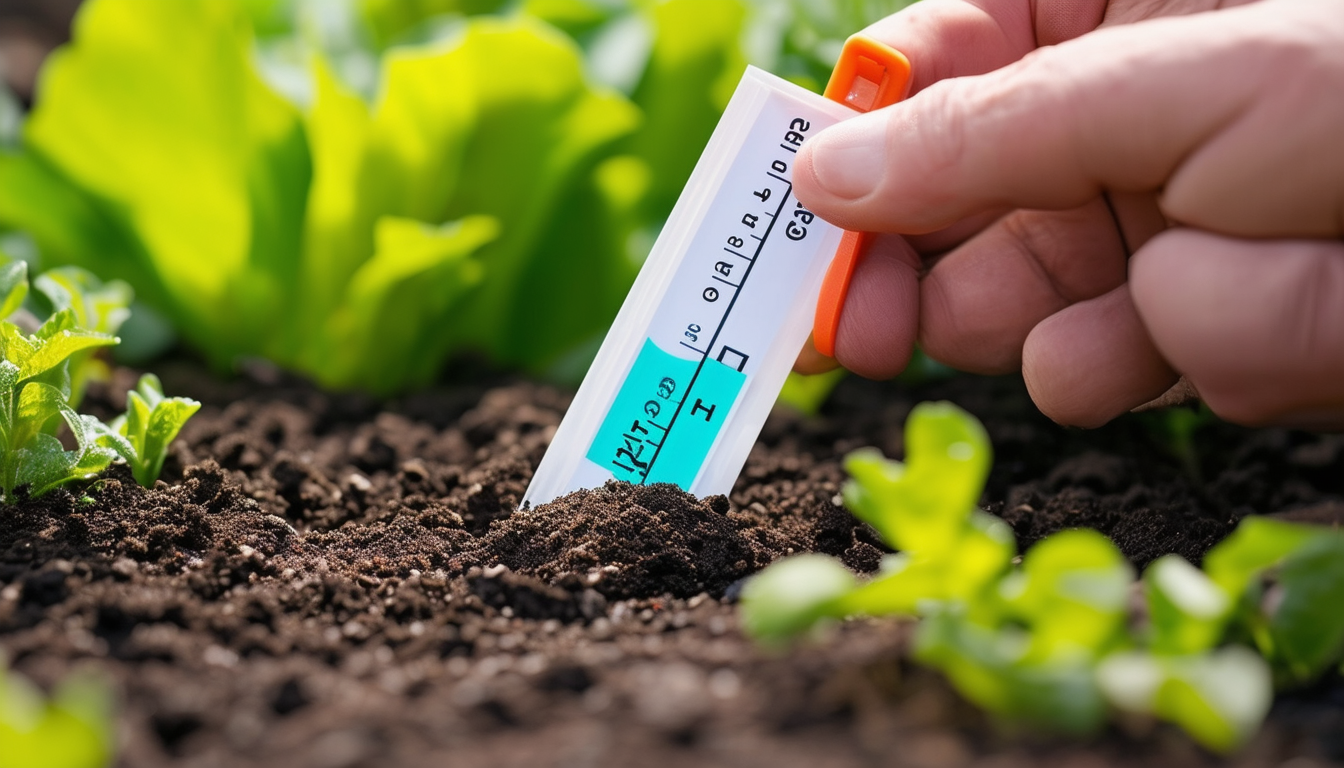
To successfully start seeds indoors, you'll need a few essential supplies. First and foremost, you'll need quality seed-starting mix. This is different from regular potting soil as it is lighter and provides better drainage, which is crucial for the delicate roots of seedlings.
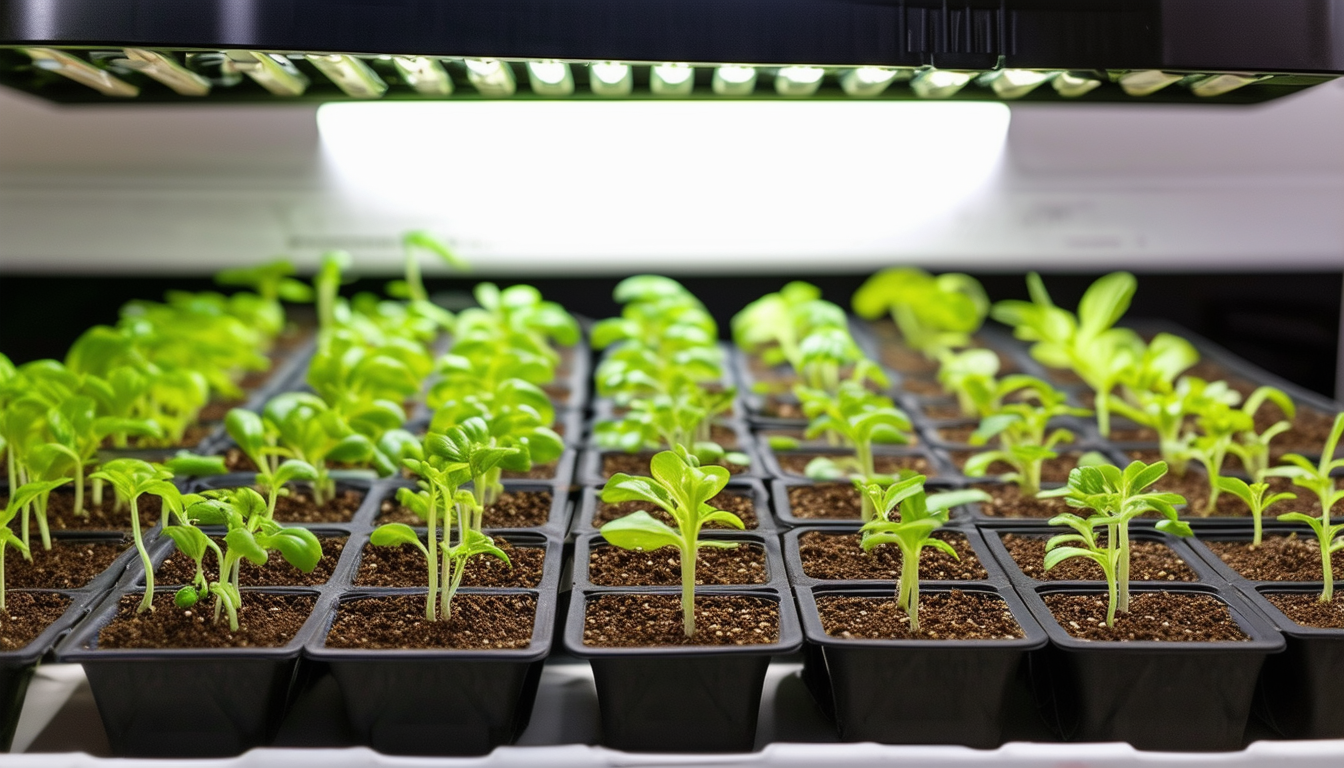
You'll also need seed trays or small pots, labels, a spray bottle for misting, and a heat mat to help maintain a consistent temperature. Additionally, a grow light can be very beneficial, especially if natural sunlight is limited. Investing in these supplies will help ensure a higher success rate for your seedlings.
Step-by-Step Process for Planting Seeds Indoors
Begin by filling your seed trays or pots with the seed-starting mix. Moisten the mix slightly with water before planting your seeds. Follow the instructions on the seed packet for the correct planting depth and spacing. Generally, seeds should be planted at a depth of approximately two to three times their diameter.
After planting, lightly mist the soil with water to keep it moist but not waterlogged. Cover the trays with a plastic dome or plastic wrap to create a mini greenhouse effect, which helps retain moisture and warmth. Place the trays in a warm location or on a heat mat to encourage germination.
Caring for Your Indoor Seedlings
Once your seeds have germinated, remove the plastic covering and place the seedlings under a grow light or in a sunny window. Keep the light source close to the seedlings, about 2-3 inches above, and adjust as they grow. Aim for 12-16 hours of light per day.
Water your seedlings regularly, keeping the soil consistently moist but not soggy. Use a spray bottle to mist the soil surface gently to avoid disturbing the delicate seedlings. As the seedlings grow, you may need to thin them out to prevent overcrowding. Finally, consider feeding them with a diluted, balanced fertilizer every two weeks to promote healthy growth.
Transplanting Seedlings to Your Garden
Before moving your seedlings to the garden, they need to be hardened off to acclimate to outdoor conditions. Start by placing them outside in a shaded area for a few hours each day, gradually increasing the time and exposure to direct sunlight over a week or two.
When you're ready to transplant, choose a cloudy day or transplant in the late afternoon to reduce transplant shock. Dig holes in your garden bed that are slightly larger than the root ball of each seedling. Carefully remove the seedlings from their trays, keeping the root ball intact, and place them in the holes. Fill in with soil, water thoroughly, and continue to care for them as they establish themselves in their new environment.


