Spring is the season of growth, and pricking out seedlings is a crucial step to ensure your garden flourishes.
Intro - Why Pricking Out Seedlings is Essential for Healthy Growth
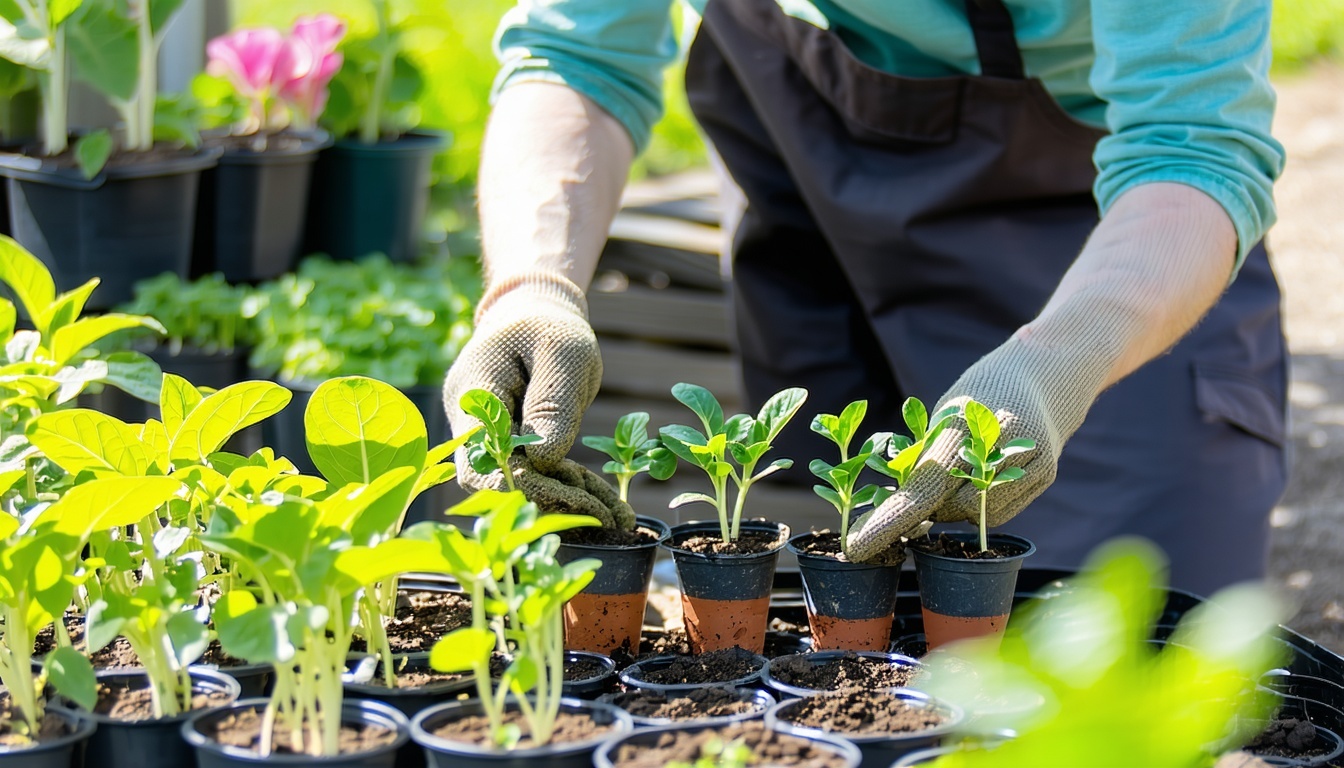
Pricking out seedlings is a fundamental gardening practice, especially in the vibrant season of spring. This process involves transplanting seedlings from their initial seed trays to larger pots or directly into the garden. By providing each seedling with more space to grow, you encourage stronger root systems and healthier plants.
Without pricking out, seedlings can become overcrowded, leading to stunted growth and increased vulnerability to diseases. This simple yet vital step ensures that each plant has the best possible start, setting the stage for a thriving garden.
When to Start Pricking out Seedlings
The timing for pricking out seedlings largely depends on the type of plant and the local climate. Generally, seedlings should be pricked out when they have at least two true leaves, which typically appear a few weeks after germination.
It's important to monitor your seedlings closely during this period. Early spring is usually the best time to start, but make sure the last frost date has passed to avoid any damage to the young plants.
5 Step Guide to Pricking Out Seedlings
1. **Prepare Your Tools and Space**: Gather small pots, fresh potting soil, and a dibber or pencil. Ensure your workspace is clean and well-lit.
2. **Water the Seedlings**: Water your seedlings a few hours before pricking them out to make the process easier and reduce stress on the roots.
3. **Gently Remove the Seedlings**: Use a dibber or pencil to carefully lift seedlings from the soil. Hold them by the leaves, not the stems, to avoid damage.
4. **Transplant into New Pots**: Make a hole in the new pot's soil with the dibber, place the seedling in the hole, and gently firm the soil around it.
5. **Water and Care**: Water the transplanted seedlings immediately and place them in a well-lit area. Continue to monitor their growth and adjust care as needed.
Common Issues, Pests & Diseases When Pricking out Seedlings
Pricking out seedlings can expose them to various challenges. Common issues include damping-off, a fungal disease that causes seedlings to collapse. To prevent this, ensure good air circulation and avoid overwatering.
Pests like aphids and fungus gnats can also be problematic. Regularly inspect your seedlings and use appropriate organic treatments if necessary. Maintaining a clean workspace and using sterile tools can help mitigate these risks.
Notes for Different Climates and Hardiness Zones
Gardening practices, including pricking out seedlings, can vary significantly based on your climate and hardiness zone. In warmer regions, you may be able to prick out seedlings earlier in the season, while cooler climates might require more patience.
It's essential to know your local frost dates and adjust your schedule accordingly. Additionally, some plants may need more or less time indoors before being transplanted outside, depending on the climate.
Best Fertiliser, Soil, Lighting & Optimum Growing Conditions
Using the right soil and fertiliser is crucial for healthy seedlings. Choose a high-quality, well-draining potting mix and consider adding a balanced, slow-release fertiliser.
Lighting is equally important. Seedlings need plenty of light, preferably from a south-facing window or under grow lights. Keep the lights on for 12-16 hours a day to mimic natural sunlight.
Ensure that the growing conditions are optimal by maintaining a consistent temperature and humidity level. Proper care during this stage will lead to robust, healthy plants.
10 Frequently Asked Questions on Pricking out Seedlings
1. **When is the best time to prick out seedlings?** When they have at least two true leaves.
2. **What tools do I need?** Small pots, fresh potting soil, and a dibber or pencil.
3. **How do I avoid damaging seedlings during the process?** Handle them by the leaves, not the stems.
4. **What should I do if my seedlings are wilting after transplanting?** Ensure they are watered properly and placed in a well-lit area.
5. **How can I prevent damping-off disease?** Maintain good air circulation and avoid overwatering.
6. **What type of soil is best for transplanted seedlings?** A high-quality, well-draining potting mix.
7. **How much light do seedlings need?** 12-16 hours of light per day, preferably from a south-facing window or grow lights.
8. **Should I fertilise seedlings immediately after pricking out?** Use a balanced, slow-release fertiliser in the potting mix.
9. **How can I manage pests on young seedlings?** Regularly inspect and use appropriate organic treatments.
10. **What are the signs of healthy seedlings after pricking out?** Strong growth, vibrant leaves, and no signs of wilting or disease.