Unlock the full potential of your garden by using a heated propagator to start your seeds.
Why a Heated Propagator is a Game-Changer for Seed Starting
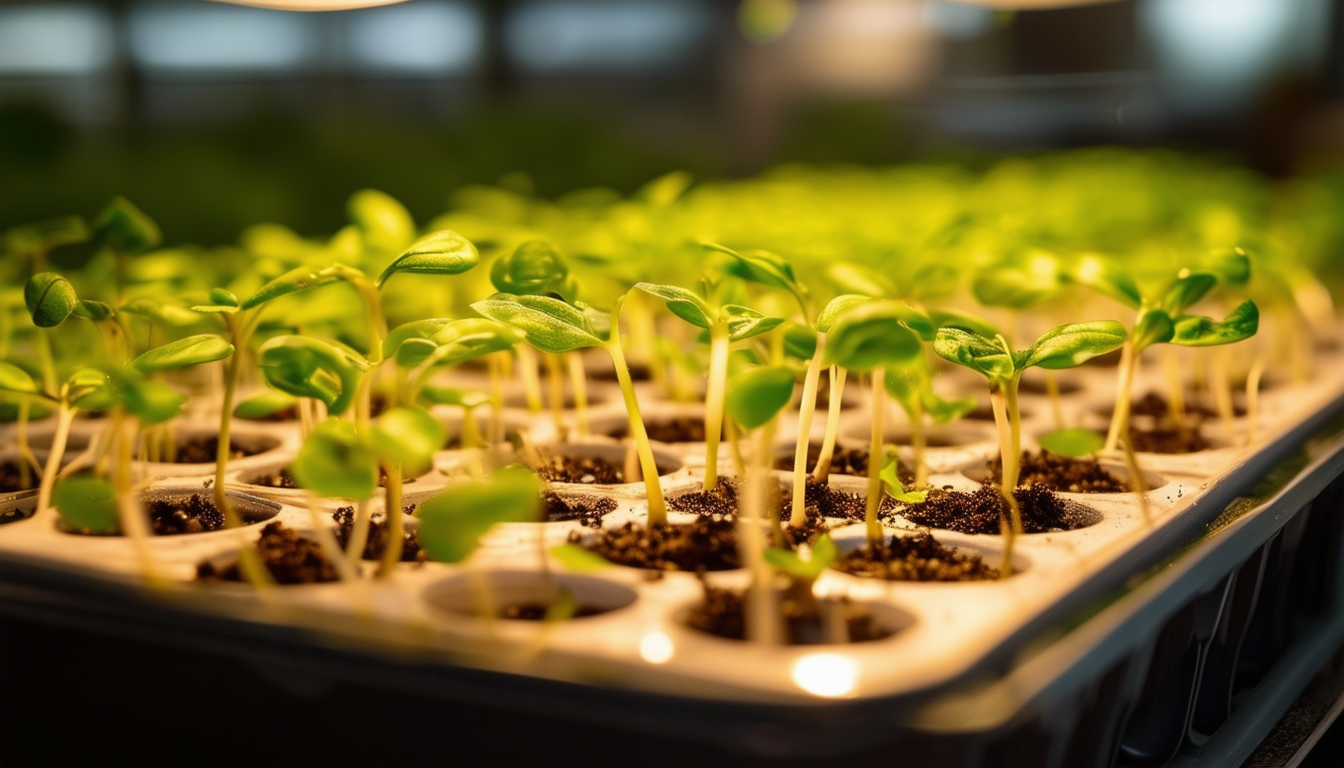
A heated propagator can significantly enhance your seed-starting process by providing a consistent and optimal temperature, which is crucial for germination. Seeds require a warm and stable environment to sprout, and a heated propagator delivers this by maintaining a controlled temperature, regardless of external conditions.
This piece of equipment makes it possible to start seeds earlier in the season, giving your plants a head start. Whether you are growing vegetables, herbs, or flowers, the benefits of using a heated propagator are numerous, including faster germination rates and healthier, more robust seedlings.
Choosing the Right Heated Propagator for Your Needs
Selecting the right heated propagator depends on several factors, including the size of your garden, the types of seeds you are growing, and your budget. There are various models available, ranging from basic units with a simple heating element to more advanced versions with adjustable temperature controls and built-in humidity monitors.
Consider the capacity of the propagator. If you plan to start a large number of seeds, you might need a bigger unit. Additionally, features like a transparent lid for light access and ventilation options can enhance the propagator's effectiveness. Reading reviews and comparing specifications can help you make an informed choice.
Step-by-Step Guide to Using a Heated Propagator
1. Fill the seed trays with a high-quality seed compost. Lightly water the compost to ensure it is moist but not waterlogged.
2. Sow your seeds according to the instructions on the seed packet. Cover the seeds lightly with compost if required.
3. Place the seed trays inside the heated propagator and set the temperature according to the needs of the seeds you are germinating.
4. Cover the propagator with its lid to retain heat and humidity. Check regularly and mist with water if the compost starts to dry out.
5. Once the seeds have germinated and the seedlings are large enough to handle, gradually acclimatize them to outdoor conditions before transplanting.
Common Mistakes and How to Avoid Them
Overwatering is a common mistake that can lead to mold growth and seed rot. Ensure the compost is moist but not saturated.
Another frequent error is setting the temperature too high, which can cause seedlings to become leggy and weak. Follow the recommended temperature settings for your specific seeds.
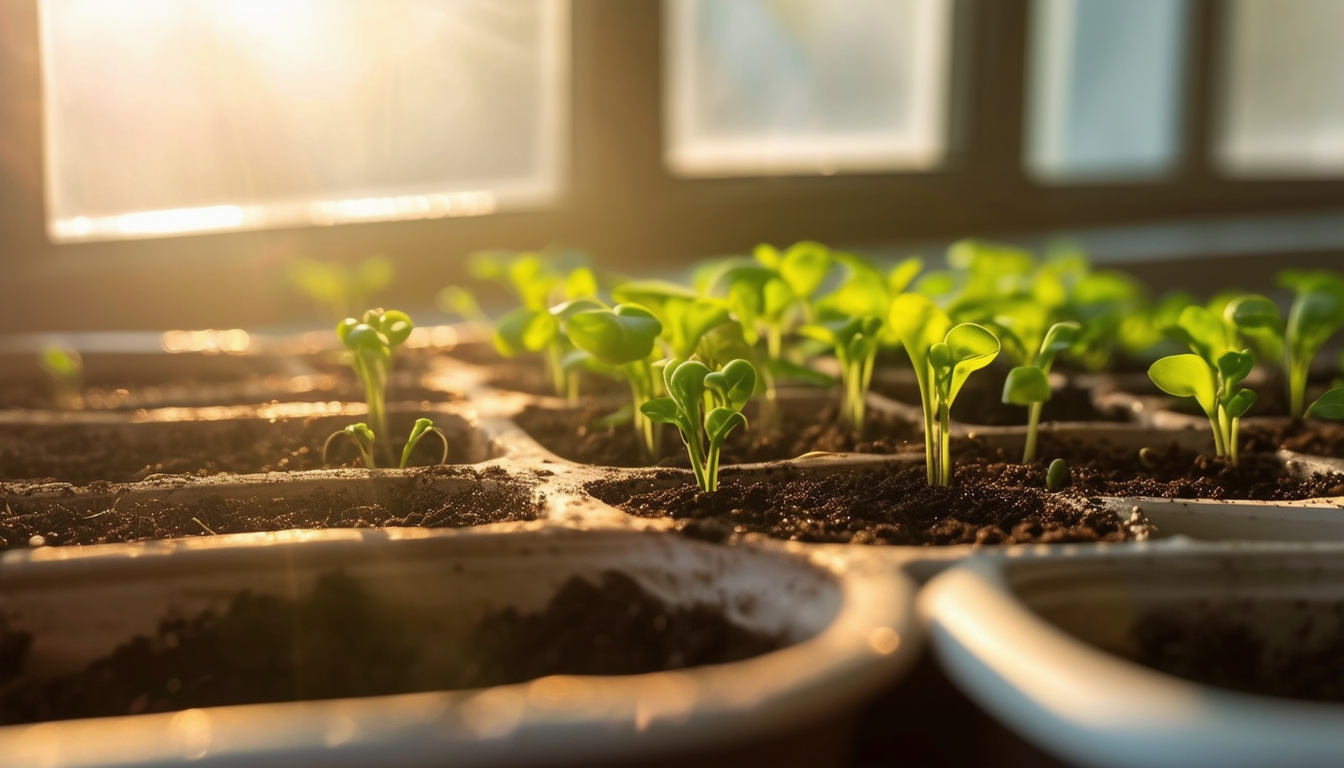
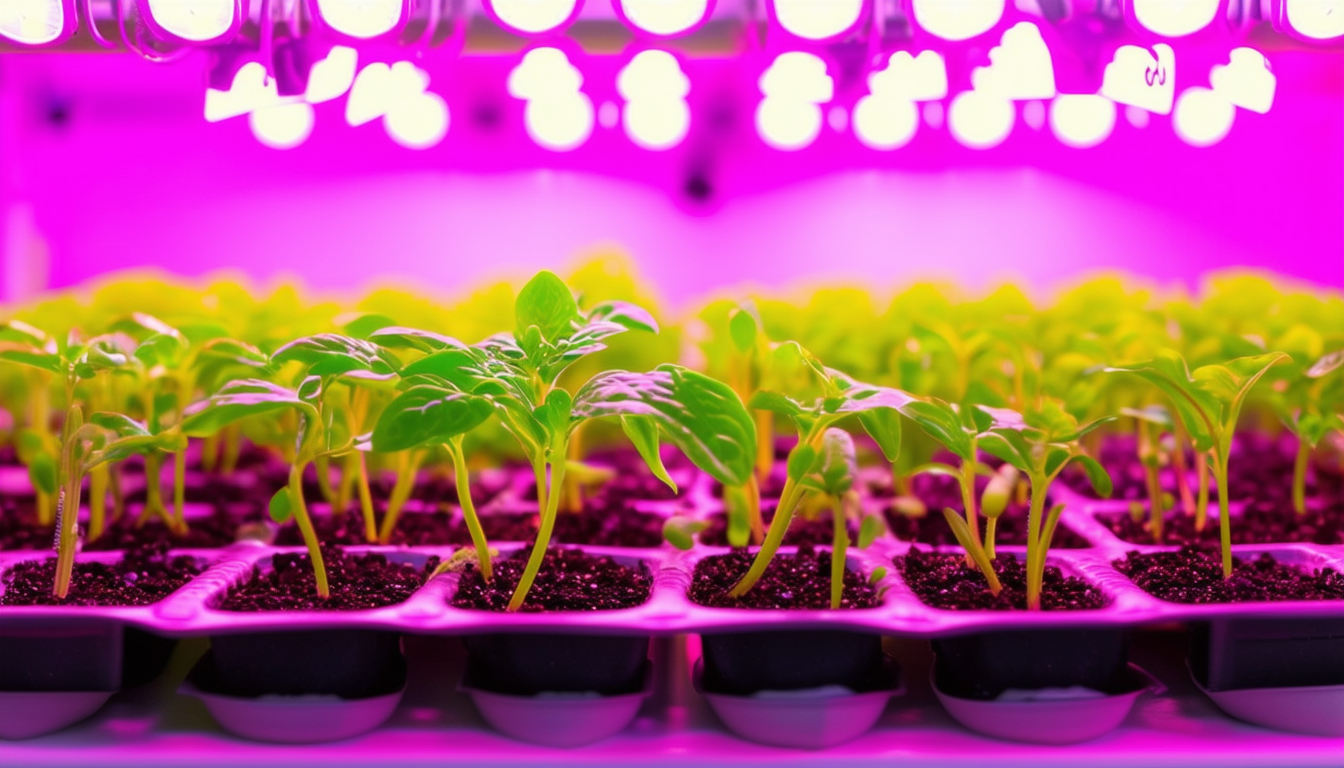
Neglecting to provide enough light can also hinder seedling development. Place your propagator in a well-lit area or use grow lights if natural light is insufficient.
Maximize Your Success: Tips and Tricks for Seed Starting
Label your seed trays to keep track of different varieties and their germination progress. This is especially useful when growing multiple types of plants.
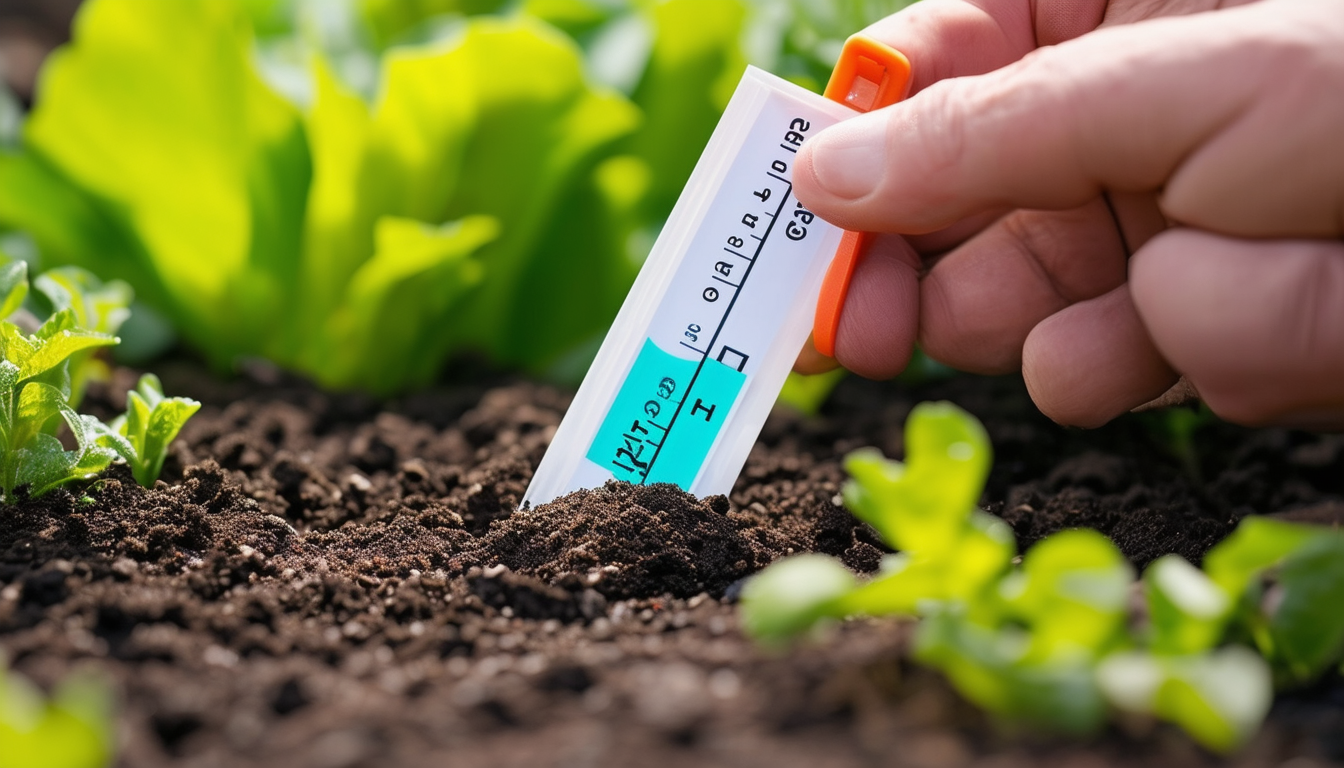
Use a seed-starting mix rather than regular garden soil. Seed-starting mixes are lighter and promote better root development.
Regularly ventilate your propagator by lifting the lid slightly to prevent fungal diseases and ensure fresh air circulation.
FAQ
How to sow seeds in a heated propagator? To begin sowing seeds in a heated propagator, start by selecting a high-quality seed compost that is light and well-draining. Fill your seed trays with this compost, ensuring it is evenly distributed. Lightly water the compost to achieve a moist, but not waterlogged, consistency. Next, carefully sow your seeds according to the specific instructions provided on the seed packet, as different seeds may have varying requirements for depth and spacing. Once sown, gently cover the seeds with a thin layer of compost if necessary. Place the seed trays inside the heated propagator, ensuring they are positioned evenly to receive consistent warmth. Secure the lid on the propagator to maintain the ideal environment for germination, which includes retaining heat and humidity. Regularly check the moisture level of the compost and mist with water if it begins to dry out, ensuring the seeds have the best possible conditions to sprout.
Is it worth buying a heated propagator? Absolutely, investing in a heated propagator is highly beneficial for avid gardeners and beginners alike. This equipment can significantly enhance germination rates by providing a stable and warm environment, which is crucial for seed development. By using a heated propagator, you can start your seeds earlier in the season, giving your plants a valuable head start. This early start can lead to stronger, more robust plants that are better equipped to thrive once transplanted outdoors. Additionally, the controlled environment of a heated propagator reduces the risk of seedling diseases and allows for more predictable growth outcomes, making it a worthwhile investment for anyone looking to improve their gardening success.
When to remove seeds from a heated propagator? The timing for removing seeds from a heated propagator is crucial for ensuring healthy plant development. Once the seedlings have developed their first true leaves, which are the leaves that appear after the initial seed leaves, they are ready to begin the acclimatization process. This involves gradually exposing the seedlings to outdoor conditions to strengthen them before transplanting. Start by removing the lid of the propagator for short periods each day, gradually increasing the time they spend outside the propagator. This process, known as hardening off, helps the seedlings adjust to variations in temperature, light, and wind, preparing them for successful transplantation into your garden.
Should I water seeds in a propagator? Yes, it is essential to water seeds in a propagator to maintain the right level of moisture in the compost. However, it is important to strike a balance, ensuring the compost remains moist but not waterlogged. Overwatering can lead to issues such as mold growth and seed rot, which can hinder germination and damage seedlings. To avoid this, regularly check the moisture level of the compost and use a spray bottle or fine misting tool to add water as needed. This approach helps maintain the delicate balance of moisture required for optimal seed germination and healthy seedling growth.
How long should seedlings stay in a propagator? Seedlings should remain in the propagator until they are strong enough to be transplanted, which typically occurs when they have developed a couple of true leaves. These true leaves are an indication that the seedlings have established a sufficient root system and are ready to begin the acclimatization process. During this time, continue to monitor the seedlings' growth and ensure they receive adequate light and moisture. Once the seedlings have reached this stage, gradually introduce them to outdoor conditions by hardening them off, preparing them for successful transplantation into your garden.
Does heat speed up seed germination? Yes, maintaining an optimal temperature is a key factor in accelerating seed germination. Heat plays a crucial role in activating the enzymes and metabolic processes necessary for seeds to sprout. By providing a consistent and warm environment, a heated propagator can significantly reduce the time it takes for seeds to germinate. This controlled temperature setting ensures that seeds receive the warmth they need to break dormancy and begin the growth process, leading to faster and more reliable germination rates.
Do electric propagators use a lot of electricity? Most electric propagators are designed to be energy-efficient and do not consume a lot of electricity. They typically use low-wattage heating elements that provide sufficient warmth for seed germination without significantly impacting your energy bill. Many models also come with thermostatic controls that allow you to adjust the temperature settings, further optimizing energy use. By choosing an energy-efficient model and using it judiciously, you can enjoy the benefits of a heated propagator without incurring high electricity costs.
Do you leave electric propagator on all the time? Generally, it is recommended to leave the electric propagator on continuously until the seeds have germinated and the seedlings are well-established. This constant heat supply ensures that the seeds receive a stable and warm environment, which is essential for successful germination. However, once the seedlings have developed their first true leaves and are ready to be acclimatized to outdoor conditions, you can begin to reduce the use of the propagator. Always follow the specific instructions for your propagator model and the seeds you are growing to achieve the best results.
Can you use cling film as a propagator? While cling film can be used to cover seed trays and create a mini greenhouse effect, it is not as effective as a proper propagator. Cling film can help retain some heat and humidity, but it lacks the consistent temperature control and ventilation options that a heated propagator provides. Additionally, cling film may not be as durable or easy to manage, making it a less reliable option for serious seed starting. For optimal results, investing in a dedicated heated propagator is recommended, as it offers a more controlled and efficient environment for seed germination.
How to germinate seeds quickly? To germinate seeds quickly, focus on providing consistent warmth, maintaining adequate moisture, and ensuring good light exposure. Use a heated propagator to create a stable and warm environment that encourages rapid germination. Keep the compost moist but not waterlogged, as proper moisture levels are crucial for seed development. Additionally, place the propagator in a well-lit area or use grow lights to provide sufficient light, which is essential for healthy seedling growth. By optimizing these conditions, you can significantly speed up the germination process and achieve successful results.
Keep the lid of the propagator closed to retain heat and humidity, which are essential for seed germination. However, it is important to ventilate the propagator occasionally to prevent mold growth and ensure fresh air circulation. You can do this by lifting the lid slightly for short periods each day, allowing excess moisture to escape and reducing the risk of fungal diseases. This balance between maintaining a warm, humid environment and providing adequate ventilation is key to successful seed starting in a propagator.


