Unlock the secrets to successful seed starting with fluorescent grow lights, ensuring your plants get the best start possible.
Why Choose Fluorescent Grow Lights for Seed Starting?
Fluorescent grow lights are a popular choice for seed starting due to their affordability and efficiency. These lights provide the right spectrum of light that seeds need to germinate and grow strong, healthy seedlings. Unlike natural sunlight, fluorescent grow lights can be controlled to ensure your plants get consistent light exposure, which is crucial during the early stages of growth.
Additionally, fluorescent lights produce less heat compared to other types of grow lights, reducing the risk of burning young seedlings. This makes them ideal for indoor gardening setups where space might be limited and temperature control is crucial.
Types of Fluorescent Grow Lights: Which Is Best for You?
There are two main types of fluorescent grow lights: T5 and CFL (Compact Fluorescent Lights). T5 lights are known for their high output and energy efficiency, making them a popular choice among serious gardeners. They may have a higher upfront cost, but their long-term savings on energy bills make them cost-effective.
CFLs, on the other hand, are more budget-friendly and widely available. They are a good option for beginners or those with smaller growing areas. While they may not be as powerful as T5 lights, they still provide adequate light for most seed starting needs.
Setting Up Your Fluorescent Grow Lights: A Step-by-Step Guide
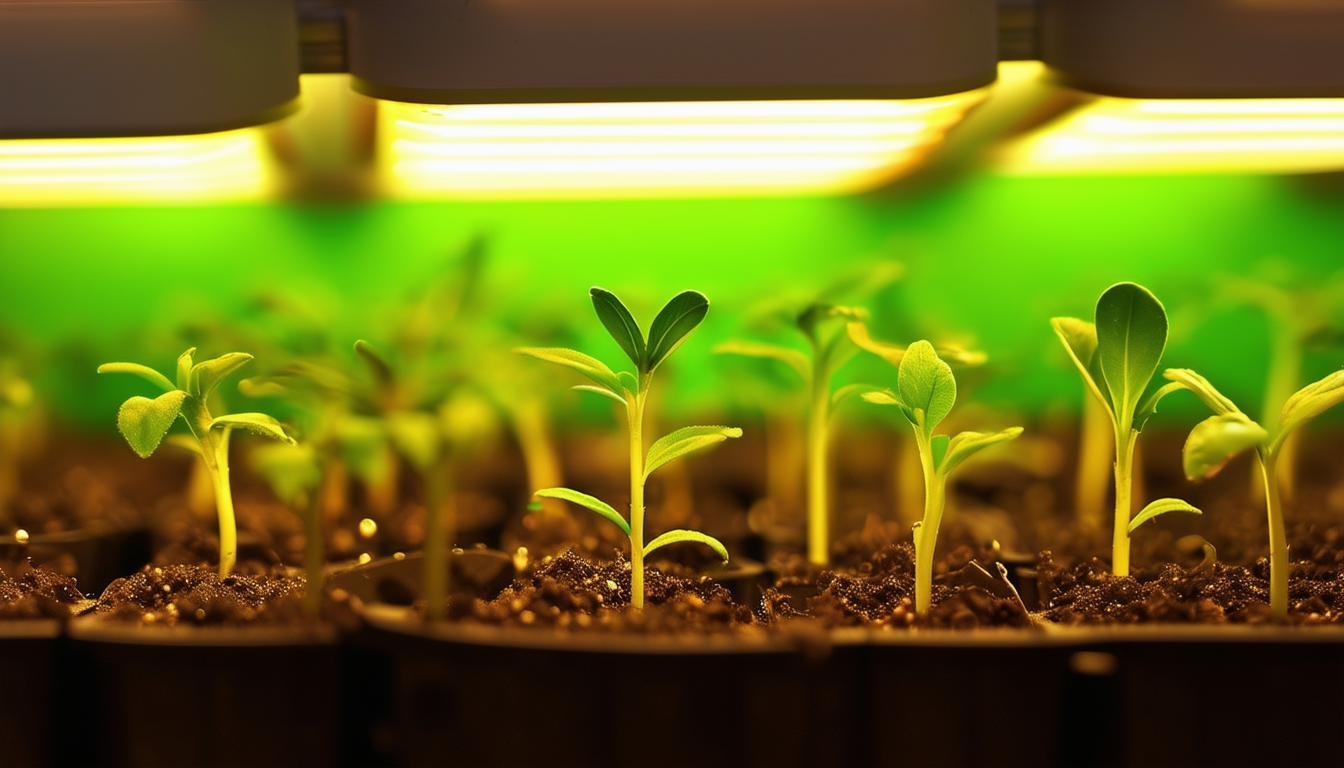
Choosing the right location for your fluorescent grow lights is crucial. Ideally, they should be placed in a room with moderate temperatures and good ventilation. A basement, spare room, or even a dedicated grow tent can be excellent options.
Start by installing the lights about 2-4 inches above the seed trays. As the seedlings grow, you will need to adjust the height of the lights to maintain this distance. Ensure the lights are on for about 14-16 hours a day to mimic natural daylight cycles.
When should I start my seeds under the grow lights?
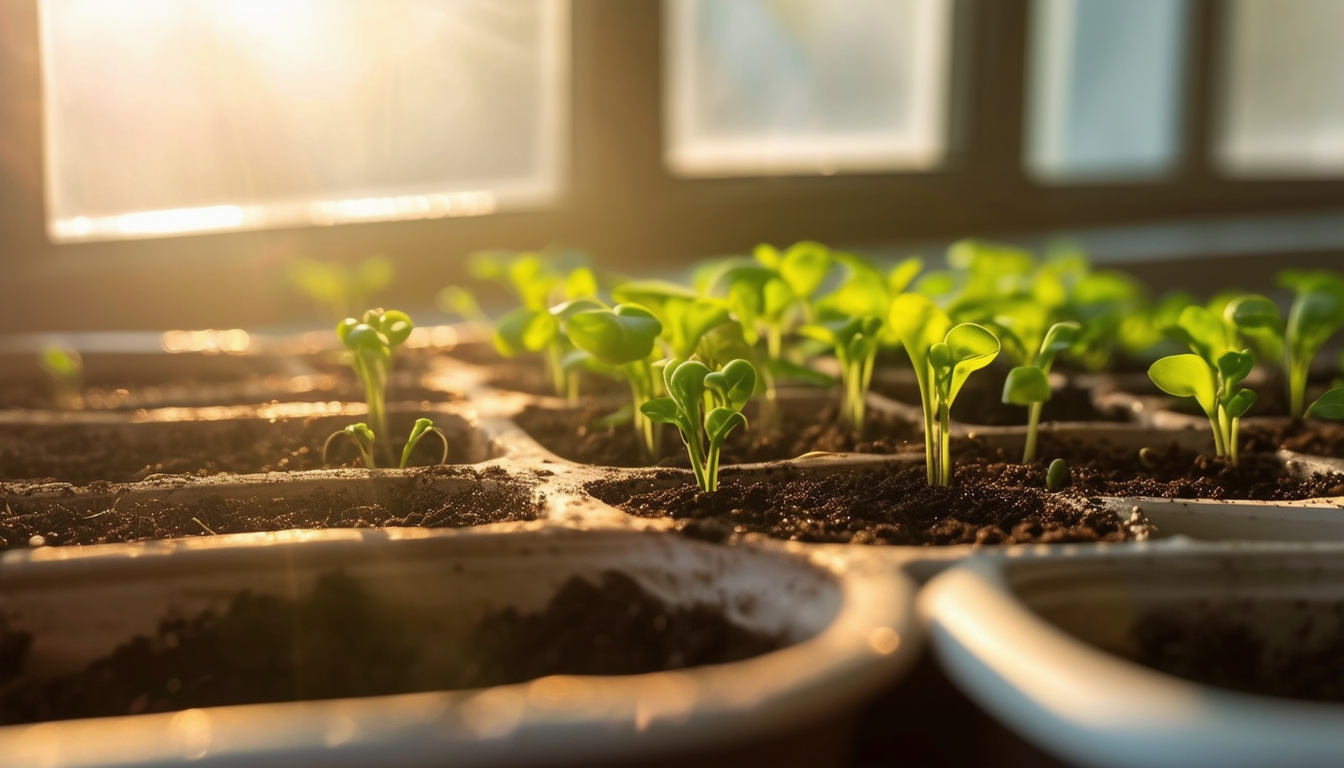
The best time to start your seeds under grow lights is typically 6-8 weeks before the last expected frost date in your area. This gives the seedlings enough time to grow strong before being transplanted outdoors.
Keep an eye on the specific requirements for each type of seed you are starting. Some may require a longer or shorter germination period, so adjusting your schedule accordingly is essential for optimal growth.
Maximizing Efficiency: Tips for Optimal Seed Growth
To maximize efficiency, focus on sustainability and energy use. Run your grow lights for 14-16 hours each day, ensuring they are turned off during the night to mimic natural cycles. Using a timer can help automate this process and save energy.
Fluorescent grow lights typically use less power compared to other types, making them an energy-efficient choice. However, it's still important to consider the cost of electricity in your area. Investing in energy-efficient bulbs and fixtures can further reduce costs.
The best varieties to start under grow lights?
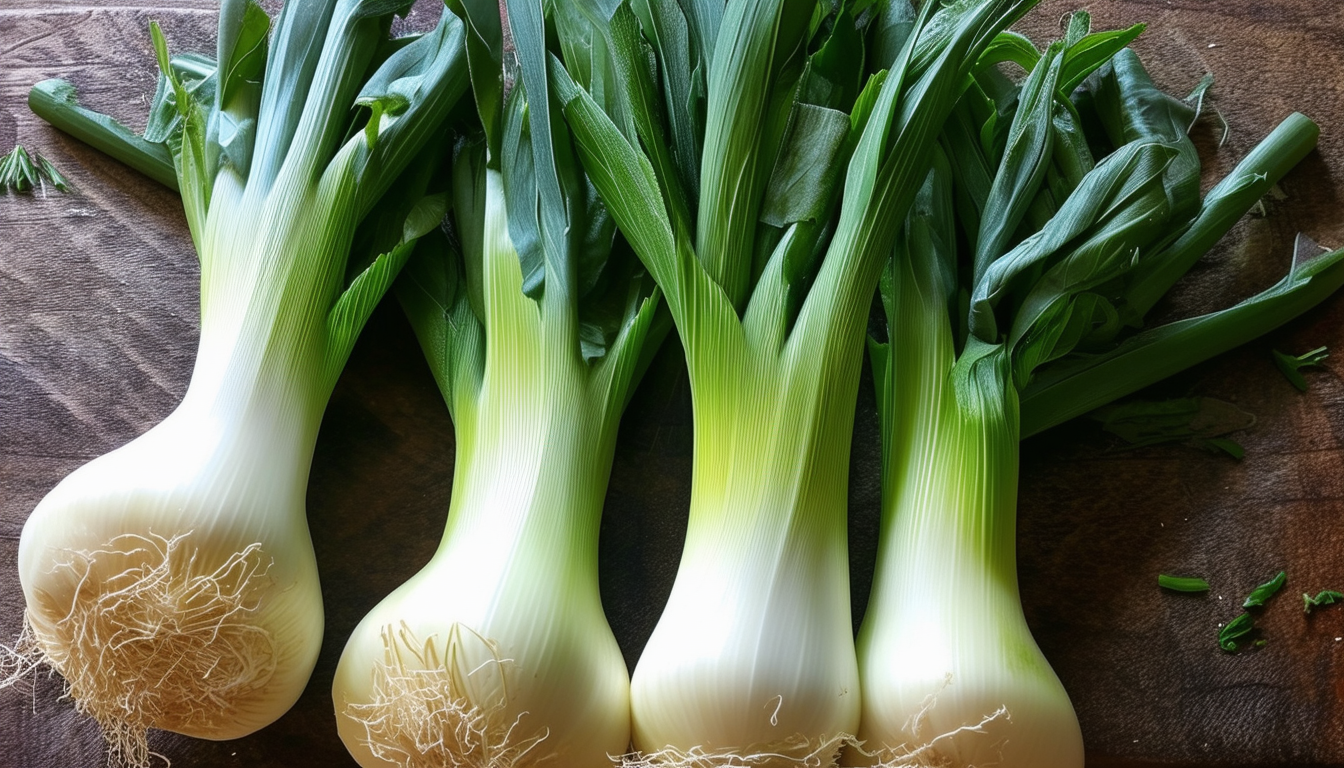
Certain plant varieties thrive particularly well under fluorescent grow lights. Leafy greens like lettuce, spinach, and kale are excellent choices. Herbs such as basil, cilantro, and parsley also do well.
Tomatoes, peppers, and eggplants are popular options for those looking to start vegetables. These plants benefit from the consistent light provided by grow lights, leading to stronger and healthier seedlings.
Common Mistakes and How to Avoid Them
One common mistake is placing the lights too far from the seedlings, which can cause them to become leggy and weak. Always maintain a 2-4 inch distance between the lights and the plants.
Another mistake is overwatering. Proper moisture levels are crucial, so ensure the soil is damp but not waterlogged. Using a spray bottle to mist the soil can help maintain the right moisture balance without drowning the seedlings.