Propagate succulents step-by-step using leaves, stems, and offsets.
Choosing method: leaves, stems, or offsets for your succulent
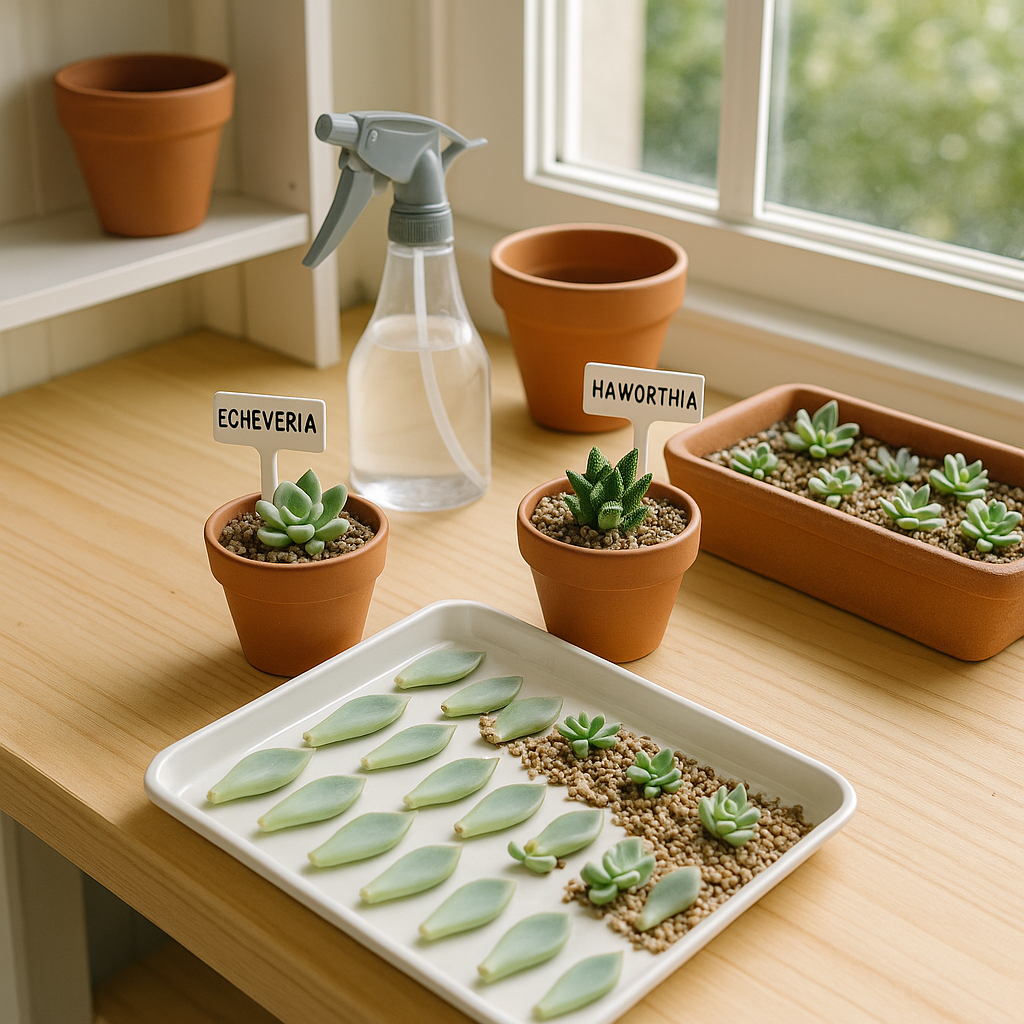
Propagating succulents is a satisfying, cost-effective way to expand your collection, and with a few proven methods you can turn a handful of leaves or a single stem into trays of healthy new plants. Leaf propagation works well for many rosette-forming genera such as Echeveria and Graptopetalum. Gently twist and remove a whole, healthy leaf so the base is intact—partial leaves rarely root. Place leaves on a dry tray out of direct sun for 2–5 days until the cut end calluses; this protective layer reduces the risk of rot once moisture is introduced. Set callused leaves on top of a gritty, free-draining mix (cactus compost blended with perlite or fine grit). Mist lightly every few days to keep the surface barely moist, allowing the medium to dry between mists. In several weeks, tiny roots and plantlets will form at the wound site. Expect variable success rates, and don’t discard leaves too soon—some take a month or more to respond. For detailed, research-based leaf techniques and timing, review the Royal Horticultural Society’s guidance on leaf cuttings. For a beginner-friendly extension overview with photos, see Iowa State Extension: How to Propagate Succulents.
Leaf, stem, and offset techniques with timelines
Stem cuttings are ideal for leggy rosette succulents and branching types. Use a sterile blade to take a 5–10 cm cutting below a leaf node. Strip the lower leaves and allow the cut end to callus for 2–5 days (longer in humid weather). Plant in a free-draining mix of cactus compost and fine grit, burying just enough to stabilize the cutting. Water lightly after a week, then sparingly until roots establish; too much moisture before rooting invites rot. Offsets (pups) from aloes, haworthias, and many echeverias are the quickest route to new plants. Gently tease pups away with a portion of their own roots attached, let any breaks dry for a day, and pot individually. Keep all propagules in bright, indirect light; direct sun can scorch tender tissues before roots form. For authoritative, step-by-step methods, see the Royal Horticultural Society’s advice on RHS guide to propagating from leaf cuttings. For university-backed tips and species-specific notes, consult Iowa State Extension’s practical overview, Iowa State Extension: How to Propagate Succulents.
Preventing rot, pests, and failure; potting-on new plants
Success hinges on avoiding excess moisture, ensuring airflow, and pacing your interventions. Common issues include mushy leaves (overwatering), shriveling (underwatering pre-root), and etiolation (too little light). Mist or bottom-water lightly only after callusing, and let the mix dry almost completely between sips. Provide warmth (21–24°C) and gentle air movement to speed rooting. Check weekly for fungus gnats or mealybugs; isolate affected trays and treat with sticky traps or an isopropyl alcohol swab as needed. Once roots are 2–3 cm long and a small rosette has formed, pot on into individual containers using a gritty mix; begin a light feeding regimen (e.g., half-strength, balanced fertilizer) in active growth. Harden young plants gradually to brighter light to prevent sunscald. For additional, research-based care pointers and cautionary notes, see UF/IFAS’s factsheet on succulent basics and propagation UF/IFAS Extension Succulent Factsheet (PDF), and a concise extension overview from West Virginia University, WVU Extension: Succulents 101. With the right timing and patience, a single plant can yield dozens of healthy new succulents in a season.